
Step-by-Step Guide
Please note: opening a personal (B2C) account is mandatory before starting the business application. Open your personal account in the ;blackcat app:


Step 0. Log in to your Personal Account and start the Business Application
What to do:
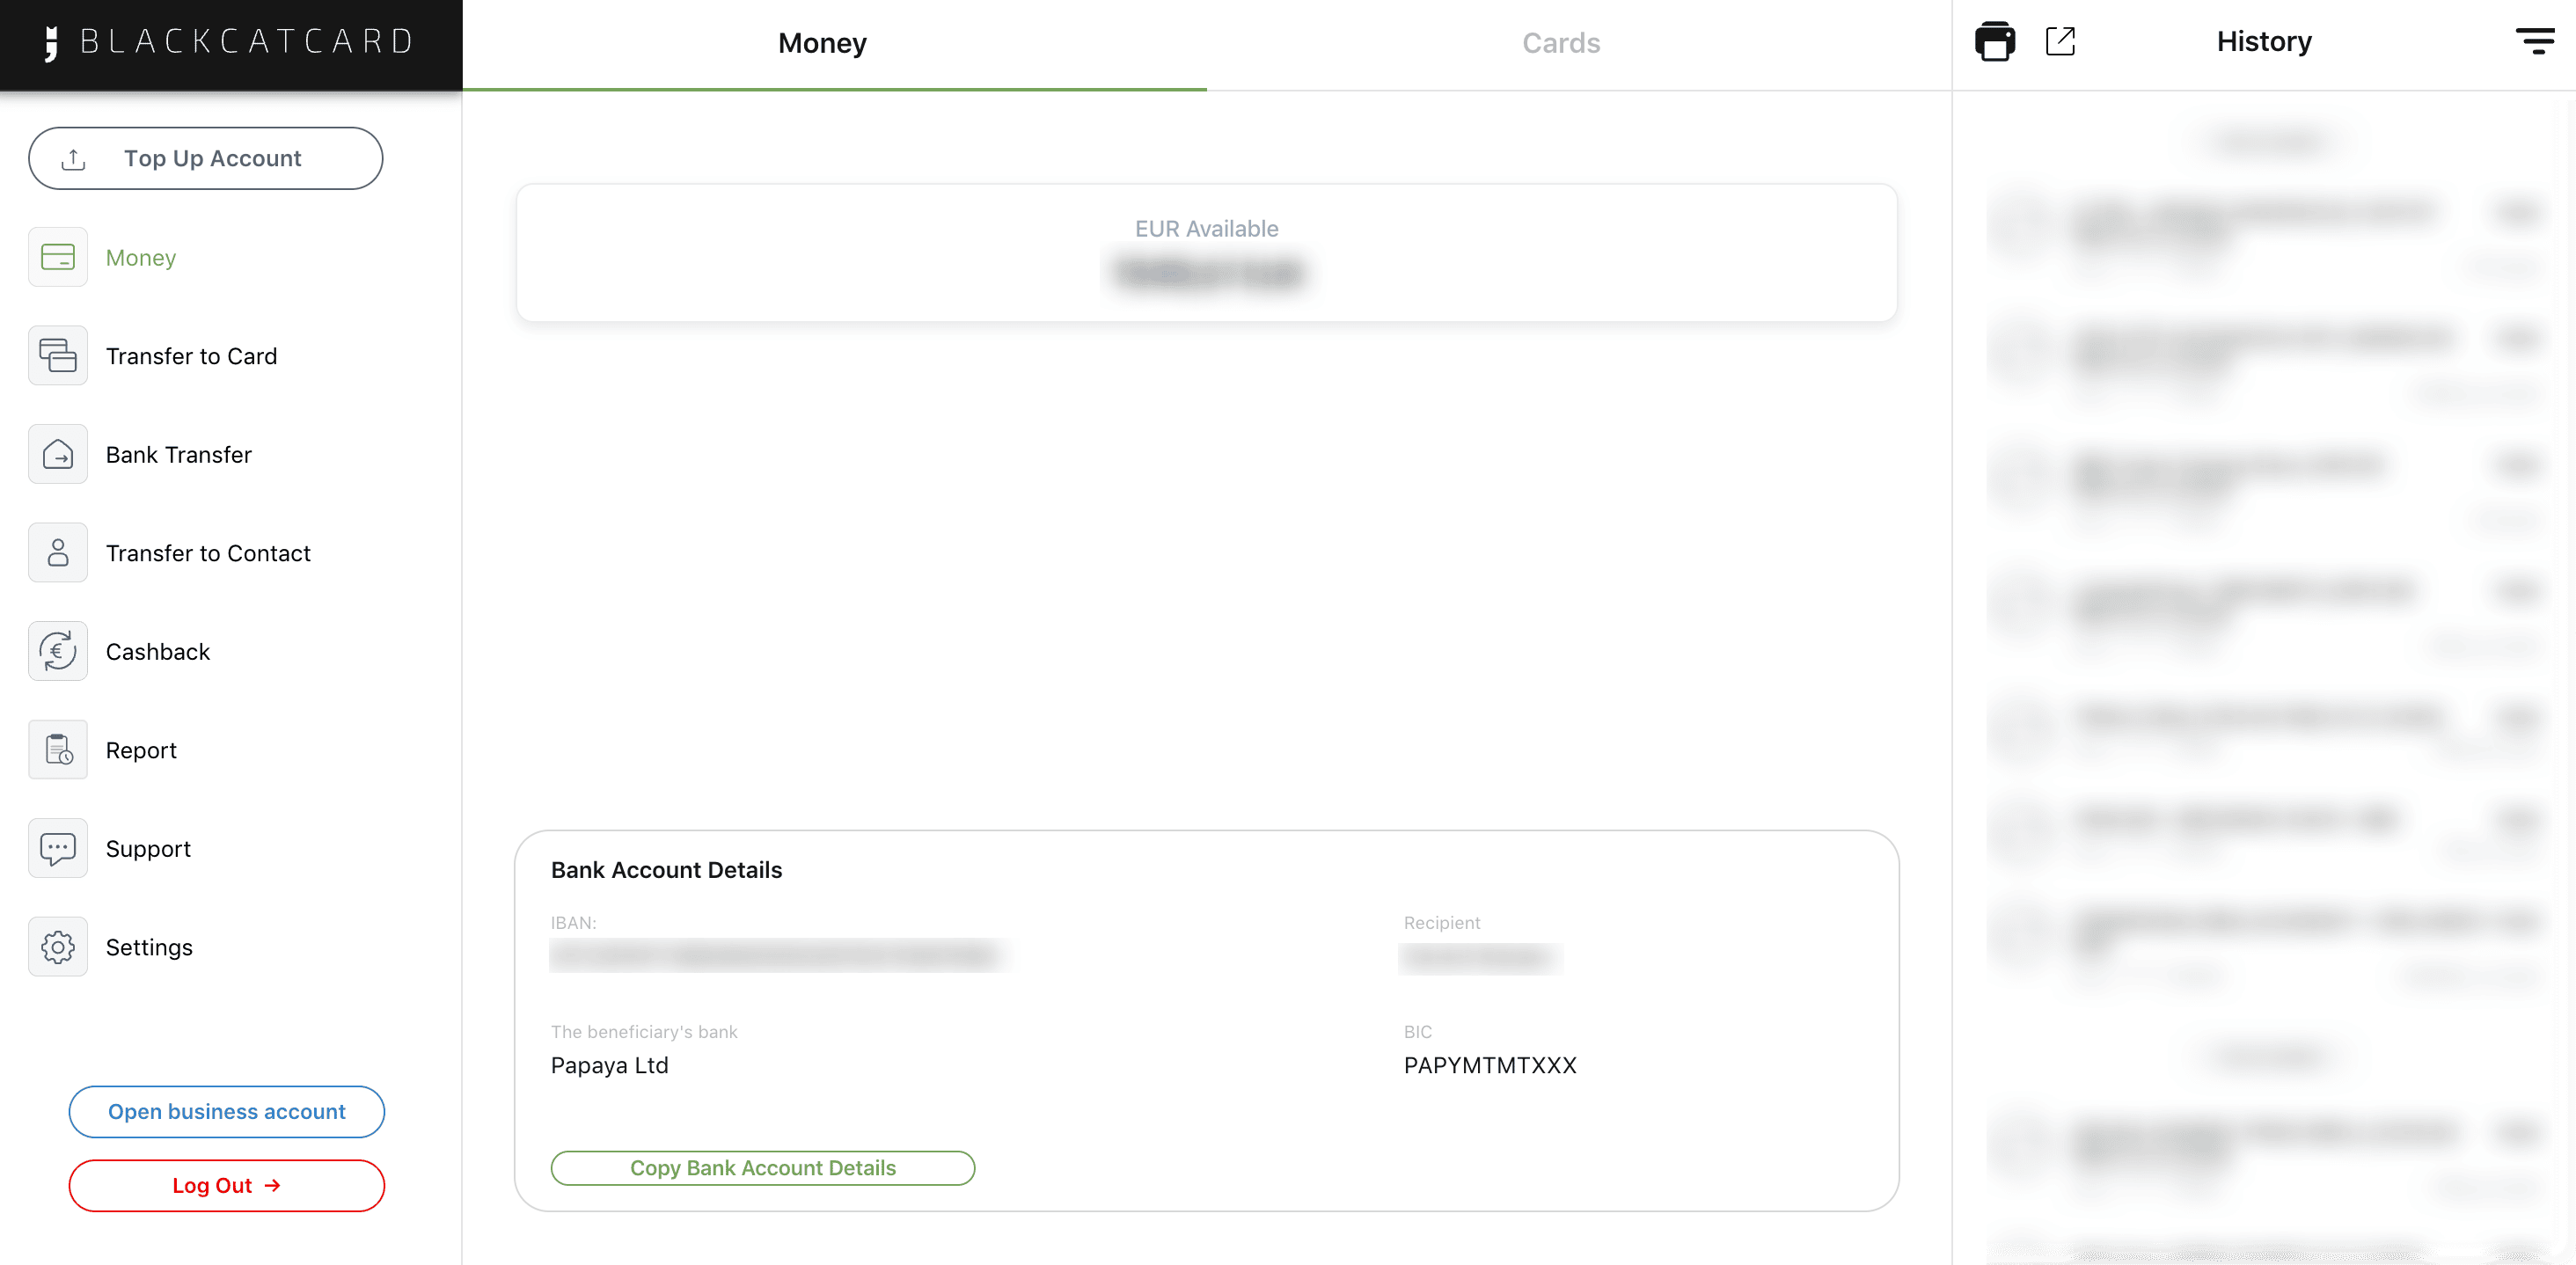
- Log in to your personal ;blackcat account using desktop and the link: https://desktopbank.blackcatcard.com/login
- In the left-side menu, click Open business account.
Important:
- Business accounts are opened only from an existing personal account.
- If you do not have a personal account yet, complete B2C registration first.
- Business onboarding is not supported on mobile — desktop only.
Step 1. Select Your Role in the Company
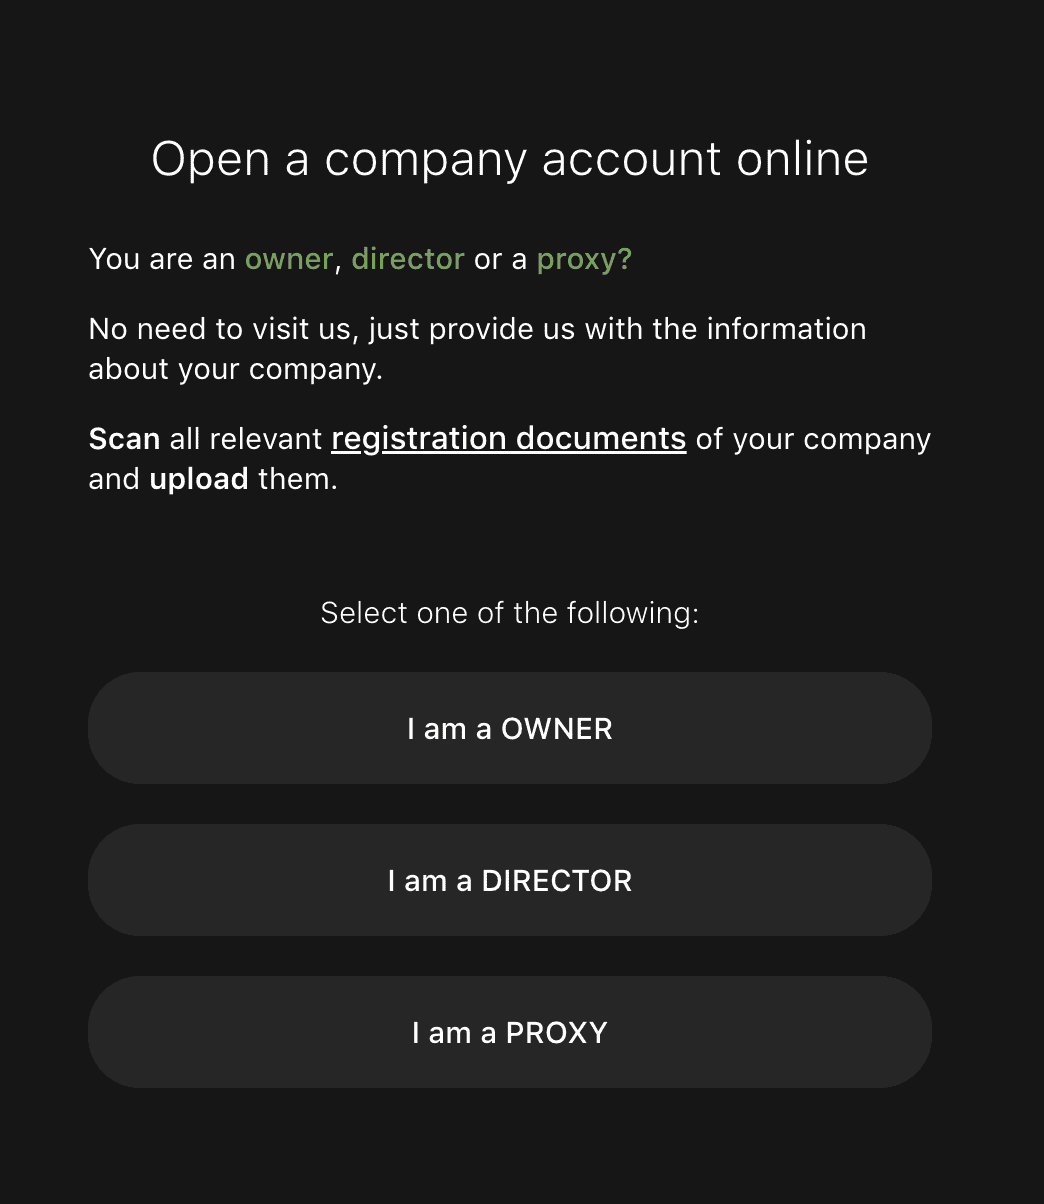
How to choose:
- OWNER — you are a beneficial owner (UBO).
- DIRECTOR — you are a company director, not necessarily a shareholder.
- PROXY — you act on behalf of the company under a Power of Attorney.
Important:
- If you are both Owner and Director, select OWNER.
- Selecting PROXY requires uploading a valid Power of Attorney later.
Step 2. Confirm Your Phone Number (KYC Link)
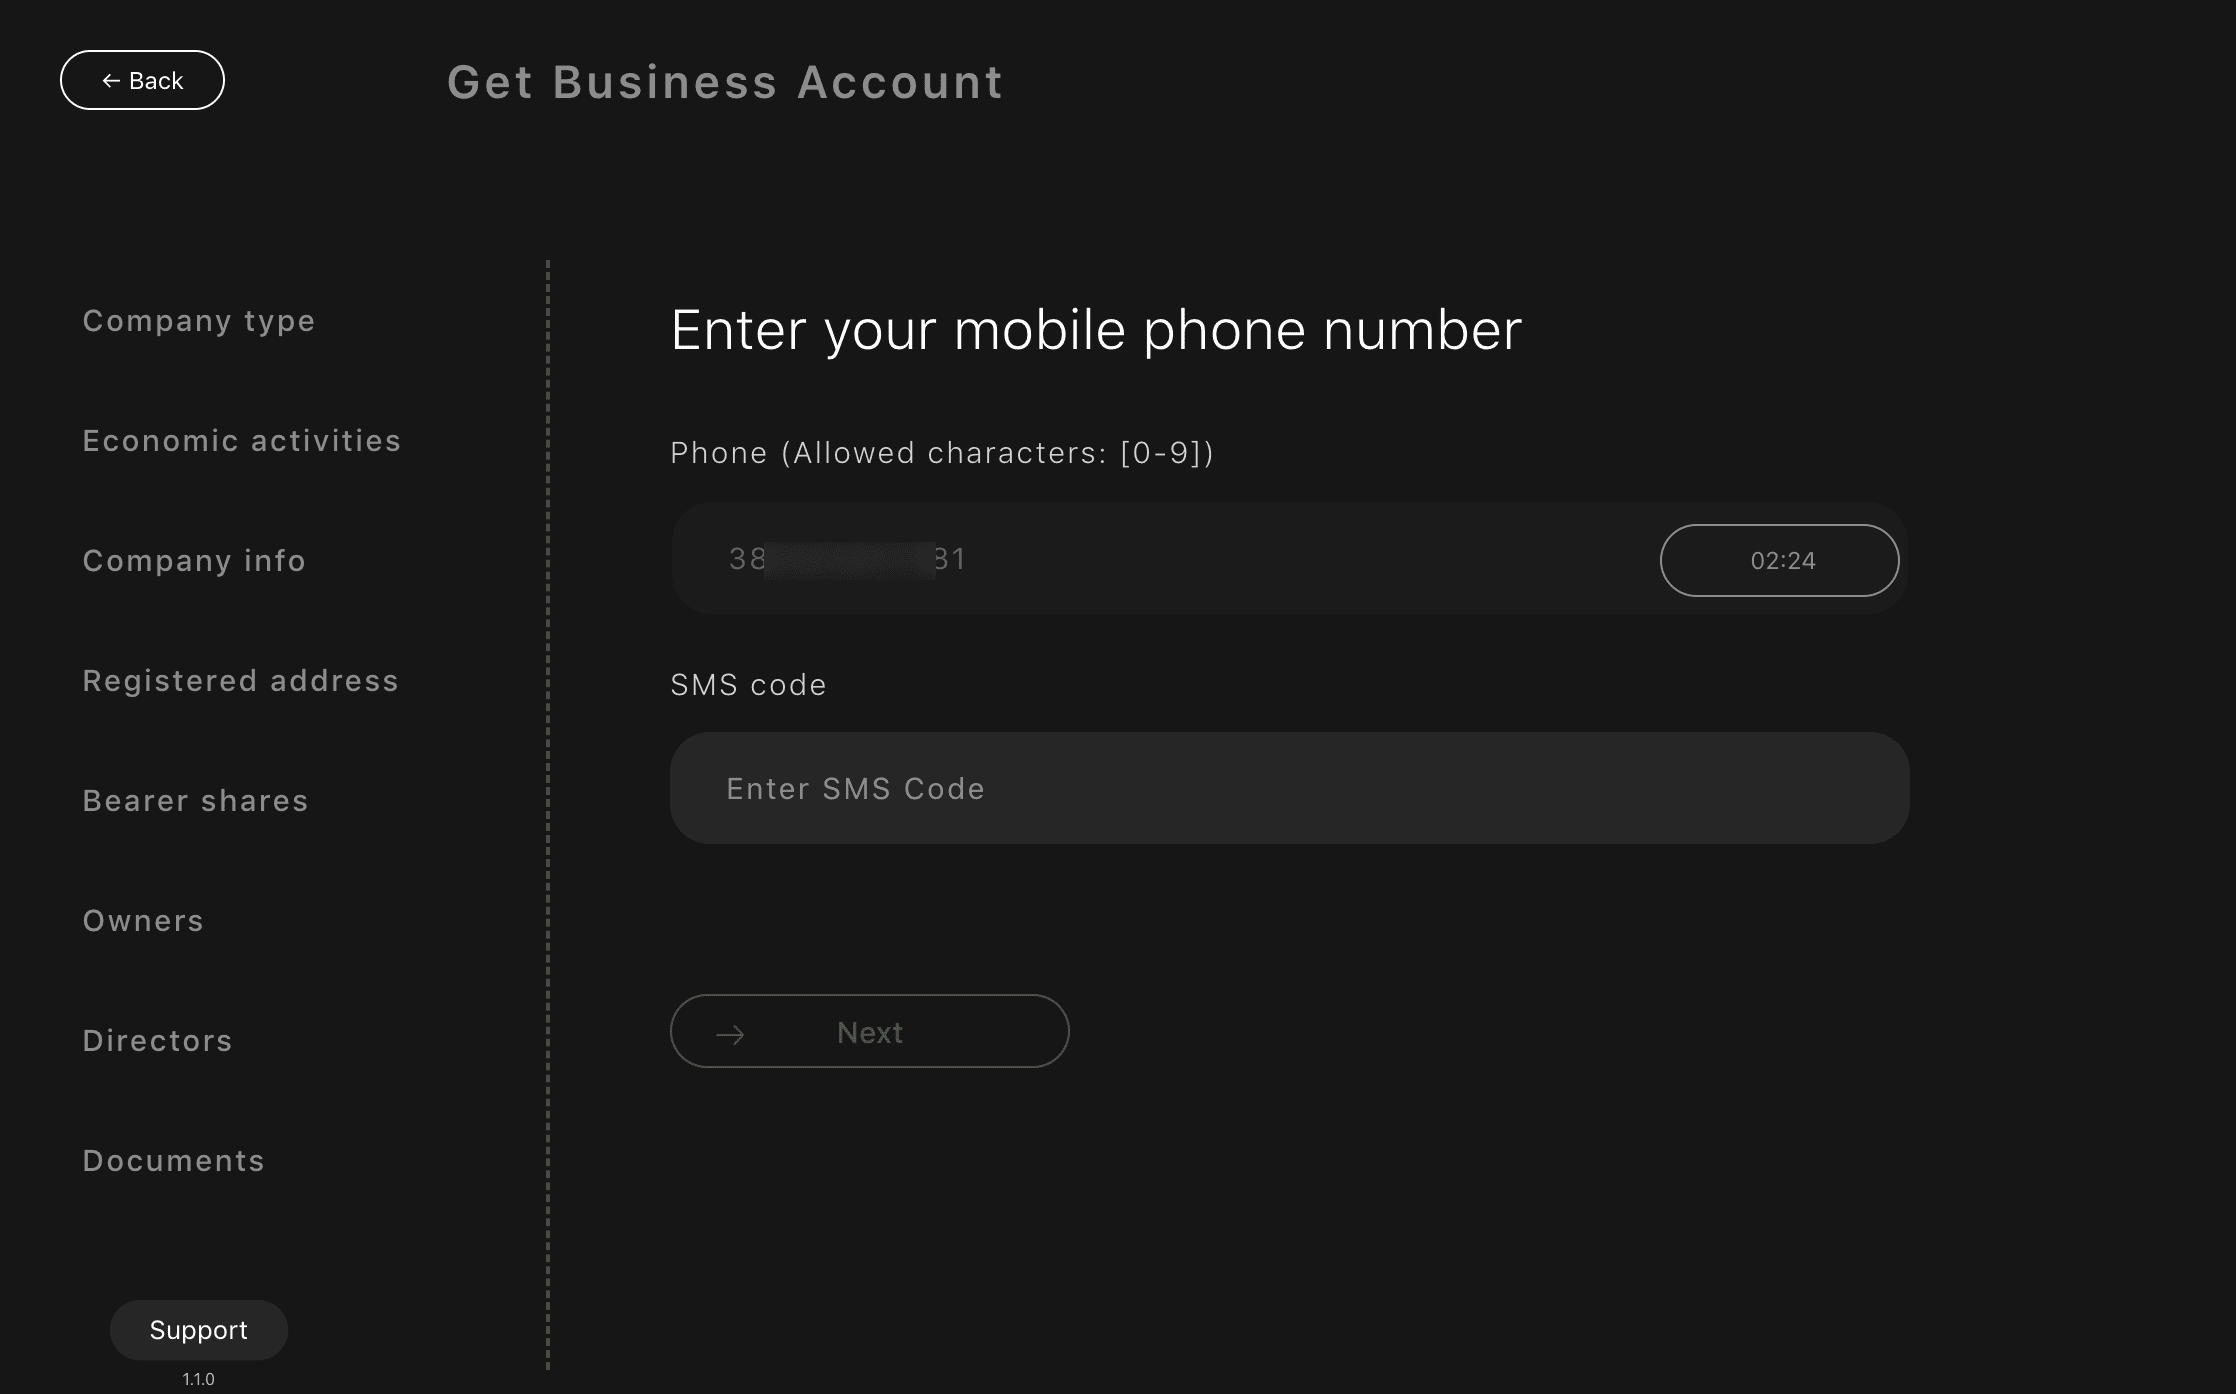
What to do:
- Enter your mobile phone number.
- Receive the SMS code.
- Enter the code and click Next.
Why this step matters:
- This links your personal KYC with the business application.
- No repeated identity verification is required later.
Important:
- Use the same phone number as in your personal account.
- Numbers must be entered using digits only.
Common mistakes:
- Using a different phone number.
- Entering symbols or spaces.
- Refreshing the page instead of requesting a new SMS.
Step 3. Select company type and licensing status

What you see:
- Section Company type in the Business Account application.
- Fields to define the legal form of the company and its licensing status.
What you need to do:
- Select company type
- Choose the legal form of your company from the dropdown list
- The selected type must match your registration documents.
- Enter full official company name
- Enter the complete legal name of the company.
- The name must be identical to the name stated in the Certificate of Incorporation / Extract.
- Do not use abbreviations or trading names.
- Specify whether the company activity is licensed
- Select one of the following options:
-
Yes
Choose this if your business activity is licensed and the licence has already been issued (e.g. financial services, gambling, crypto, etc.).
-
No, not required
Choose this if your type of business does not require a licence in the country of operation.
-
No, but licence is required
Choose this if a licence is required for your activity but has not yet been obtained.
What is important:
- Your answer here directly affects the compliance review.
- Incorrect selection may result in additional questions or delays.
- If a licence is required, supporting documents or explanations may be requested later.
Common mistakes:
- Selecting “No, not required” when the activity is regulated.
- Using a brand or commercial name instead of the legal company name.
- Choosing a company type that does not match registration documents.
After completing this step:
- Click Next to continue to the following section.
Step 4. Select Economic Activities
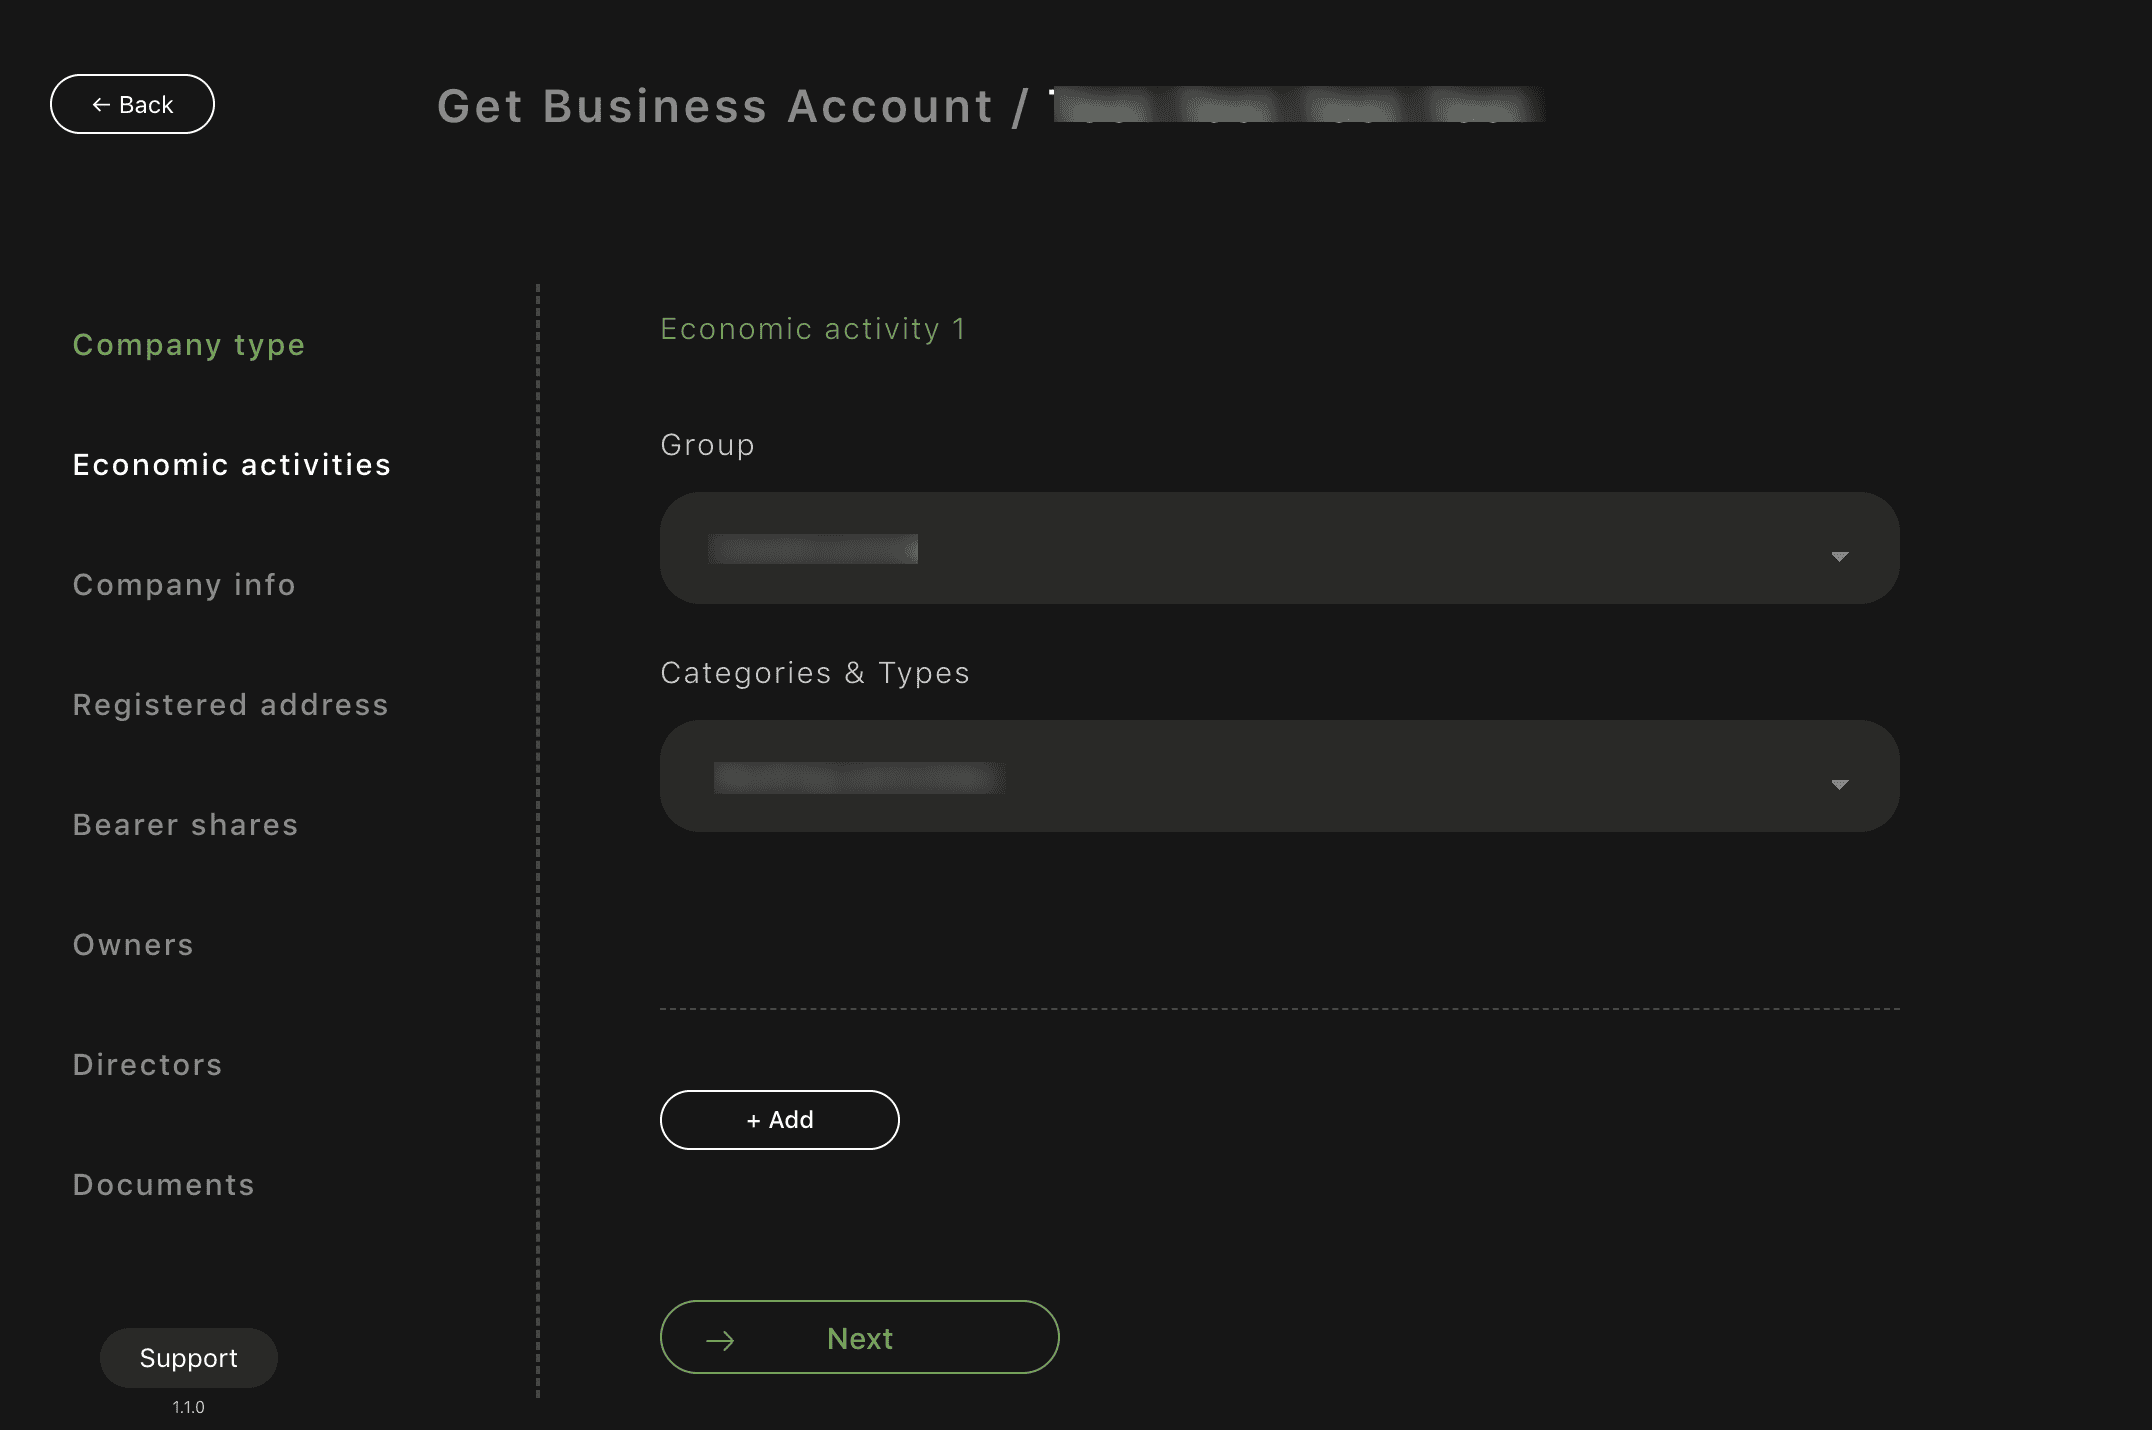
What you see:
Section Economic activities in the Business Account application.
What you need to do:
- Select Group
- First, choose the main business Group from the dropdown.
- The Group defines the high-level industry your company operates in.
- Select Categories & Types
- After selecting the Group, choose the relevant Categories & Types.
- Available categories depend on the previously selected Group.
- Add additional activities (if applicable)
- If your company operates in more than one activity, click + Add.
- Repeat the same flow: select Group first, then Categories & Types.
What is important:
- Group must always be selected first — Categories cannot be chosen without it.
- Selected activities must reflect the real business model of the company.
- The chosen activities directly affect compliance review and risk assessment.
Common mistakes:
- Trying to select Categories before choosing a Group.
- Selecting overly broad or unrelated activities.
- Adding activities that are not mentioned in company documents or website.
After completing this step: Click Next to continue with the application.
Step 5. Fill in Company Information
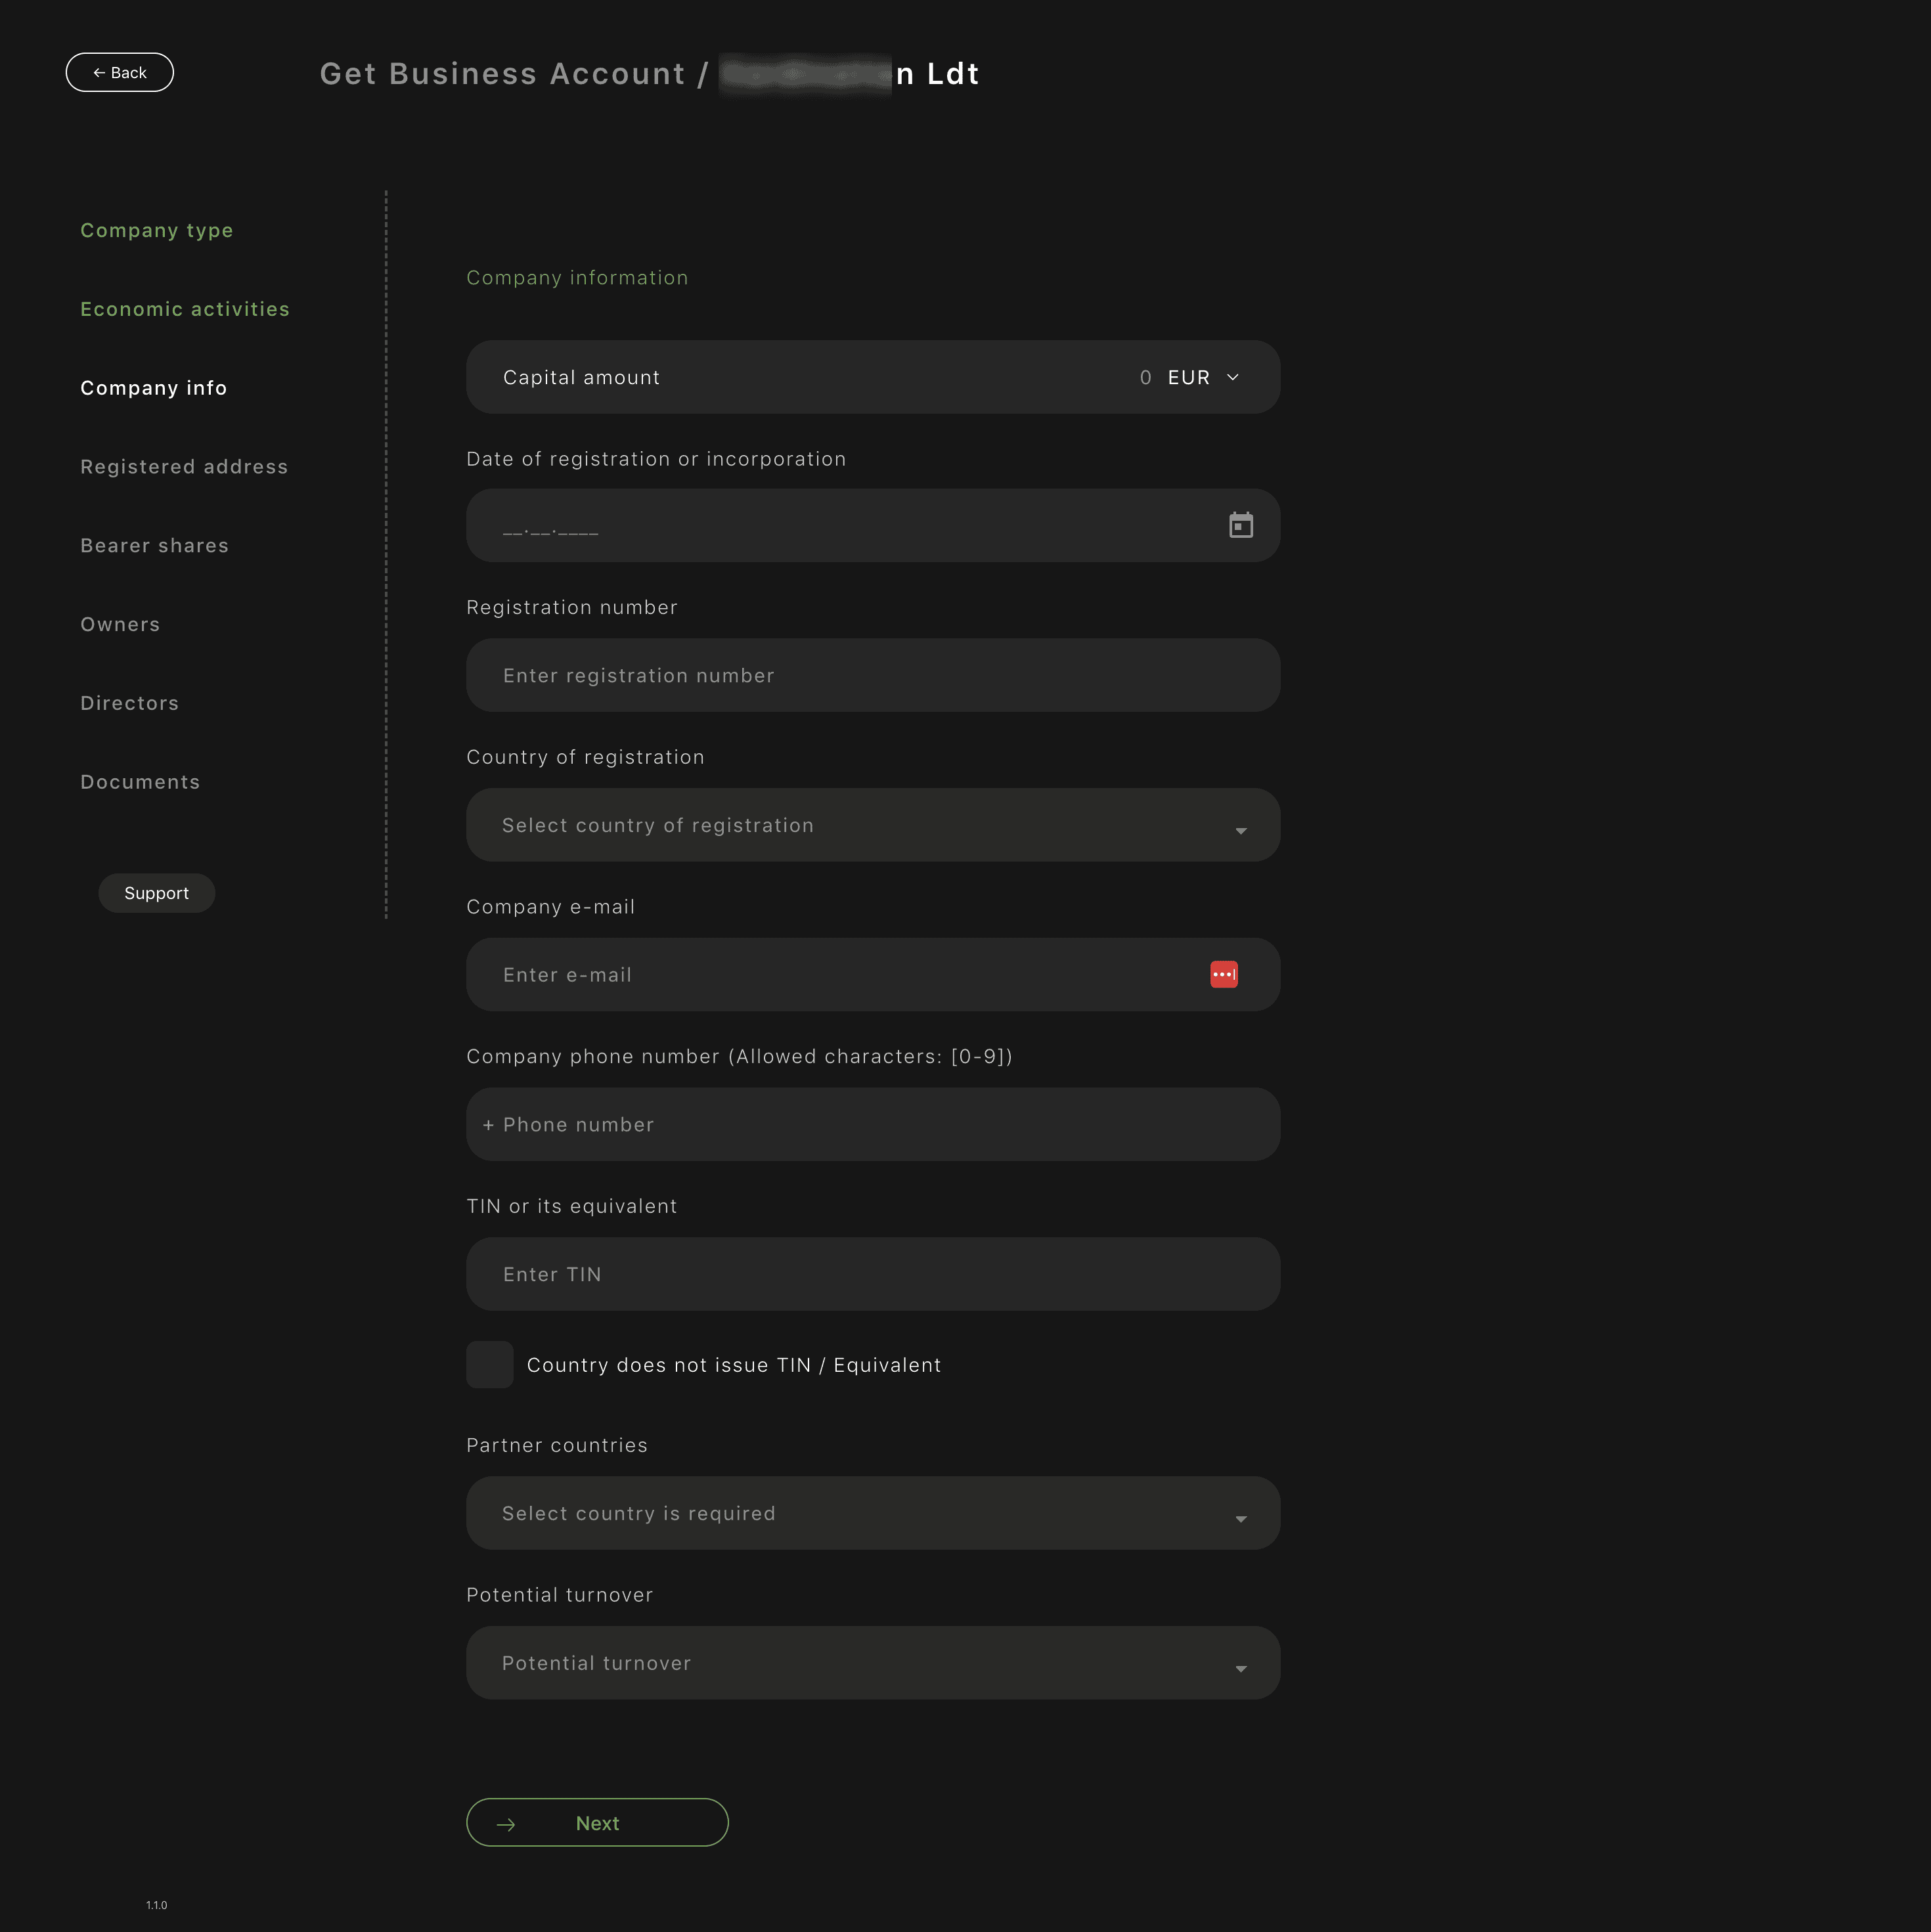
You must complete all company details:
Required fields:
- Capital amount
-
Date of registration or incorporation
Select the date using the calendar icon.
- Registration number
- Country of registration
- Company e-mail
- Company phone number
-
TIN or equivalent
If unavailable, check Country does not issue TIN.
- Partner countries
- Potential turnover
Important:
- All data must match official company documents.
- Dates cannot be typed manually — use the calendar.
- Provide realistic turnover and countries of operation.
Common mistakes:
- Using personal e-mail instead of company e-mail.
- Incorrect registration date.
- Understating business activity “to be safe”.
Step 6. Enter Registered and Business Addresses
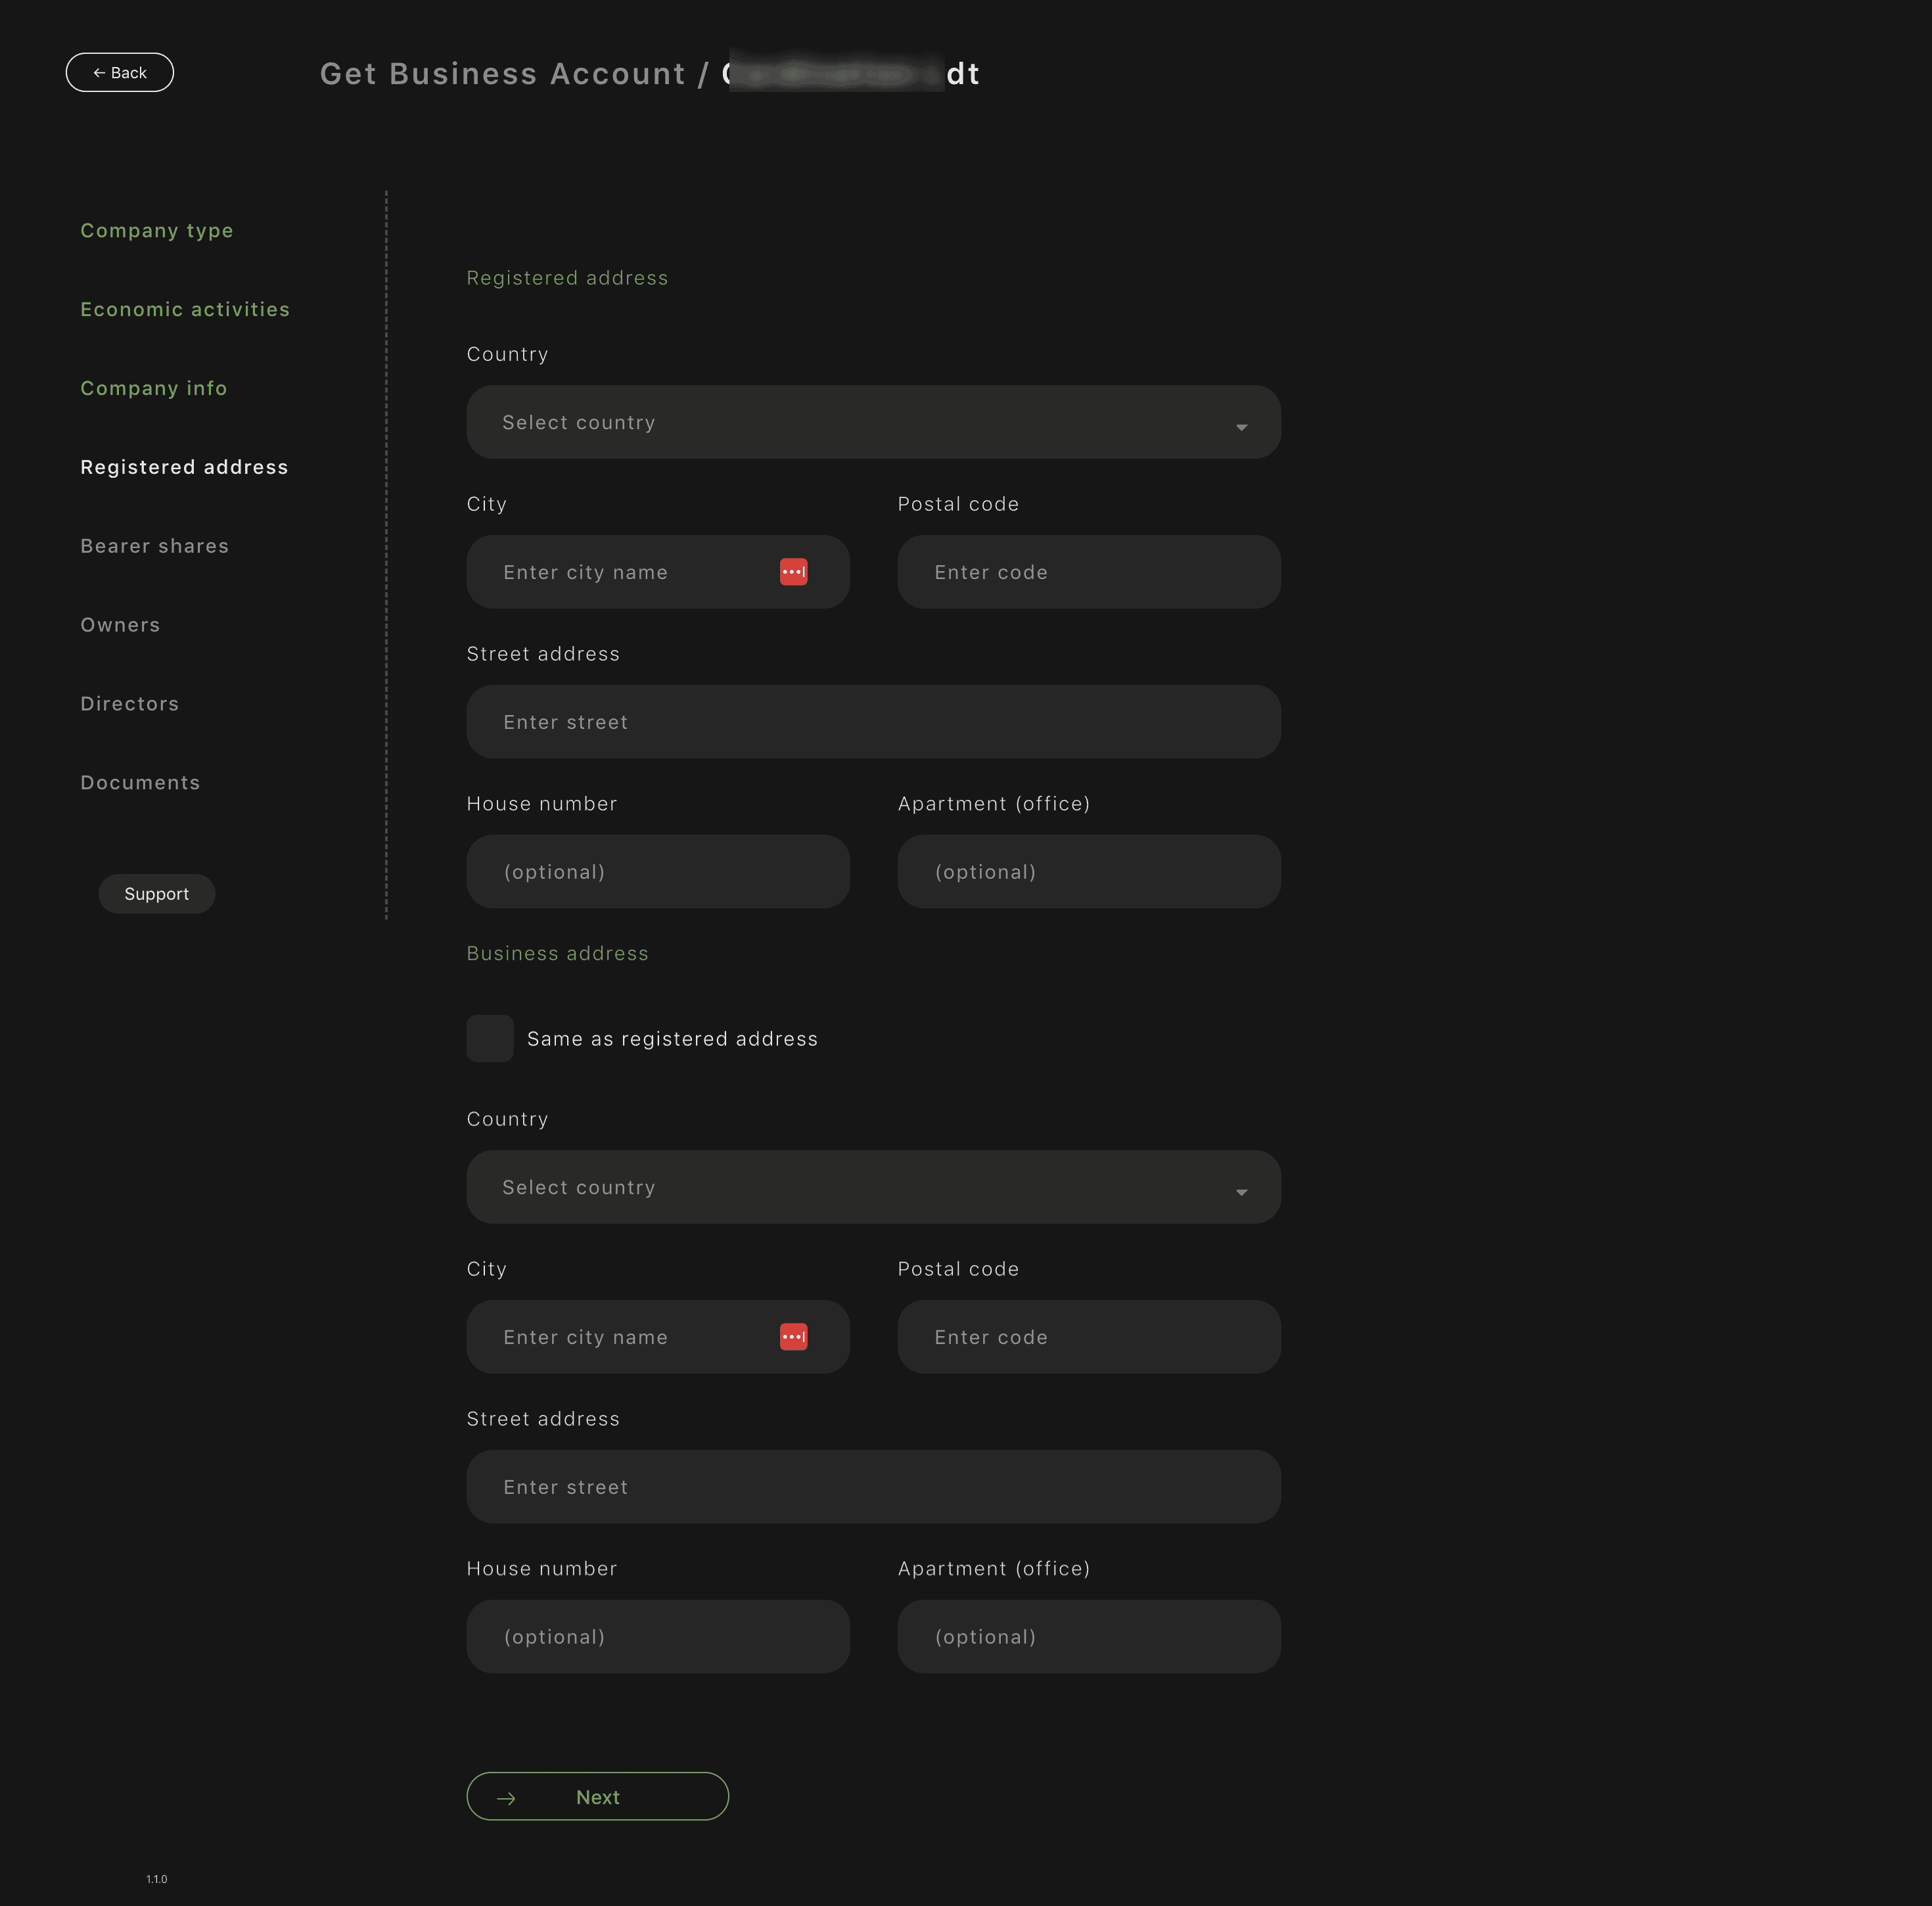
Registered address
Fill exactly as stated in company documents:
- Country
- City
- Postal code
- Street
- House number
- Office / apartment (if applicable)
Business address
- If the business address is the same, check Same as registered address.
- If different, fill it manually.
Important:
- Address mismatch is one of the most common compliance delays.
- Virtual offices must be entered exactly as registered.
Step 7. Add Director Information

For each director, provide:
Personal details:
- Name and surname (as in passport)
- Country of birth
- Date of birth (via calendar)
- Citizenship
- Phone number
- Personal e-mail
Address details:
- Country
- City
- Postal code
- Street
- House number / office
If there are multiple directors:
- Click + Add and complete details for each one.
Important:
- Even if you are the Owner, you must add yourself as Director if applicable.
- All directors listed in company documents must be added.
Common mistakes:
- Abbreviated names.
- Missing second director.
- Using corporate instead of personal e-mail.
Step 8. Upload Company Documents and Submit
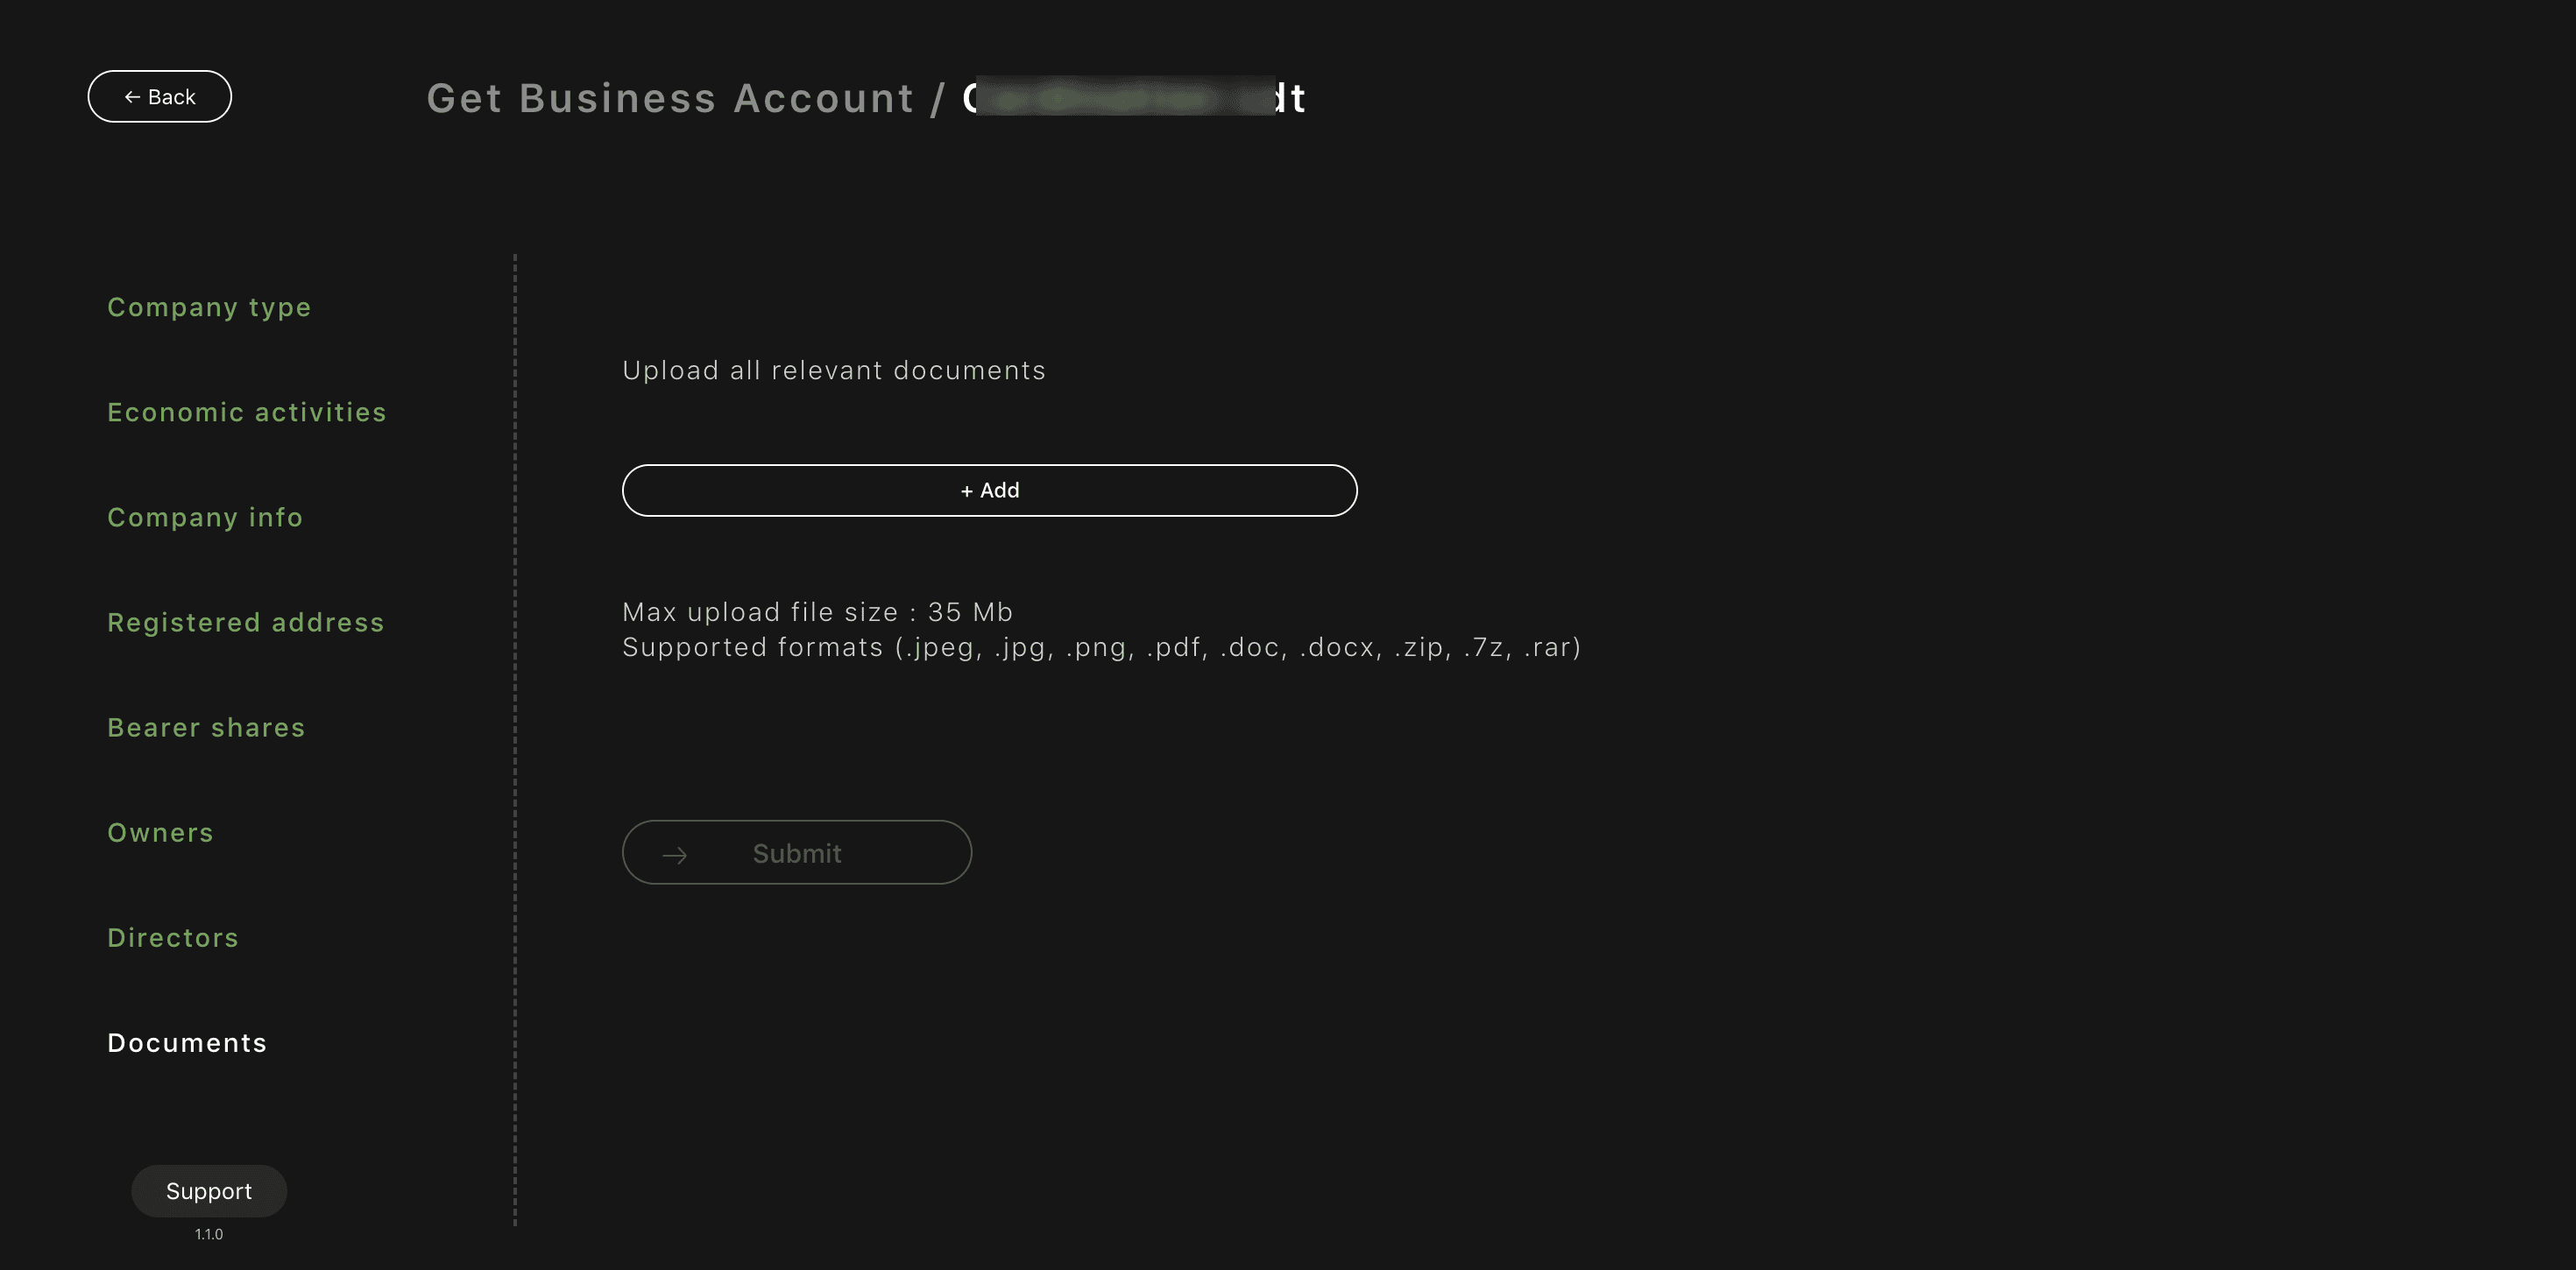
Click + Add and upload all relevant documents.
Typically required:
- Certificate of Incorporation / Company Extract
- Articles / Memorandum of Association
- Shareholder register
- Ownership structure
- Director and UBO documents (if requested)
- Power of Attorney (if Proxy selected)
Technical requirements:
- Max file size: 35 MB
- Supported formats:
-
.jpeg, .jpg, .png, .pdf, .doc, .docx, .zip, .7z, .rar
Best practice:
- Use clear file names
- (e.g. Certificate_of_Incorporation.pdf).
- Upload readable scans, no cropped edges.
After uploading:
- Click Submit.
Step 9. Application Submitted
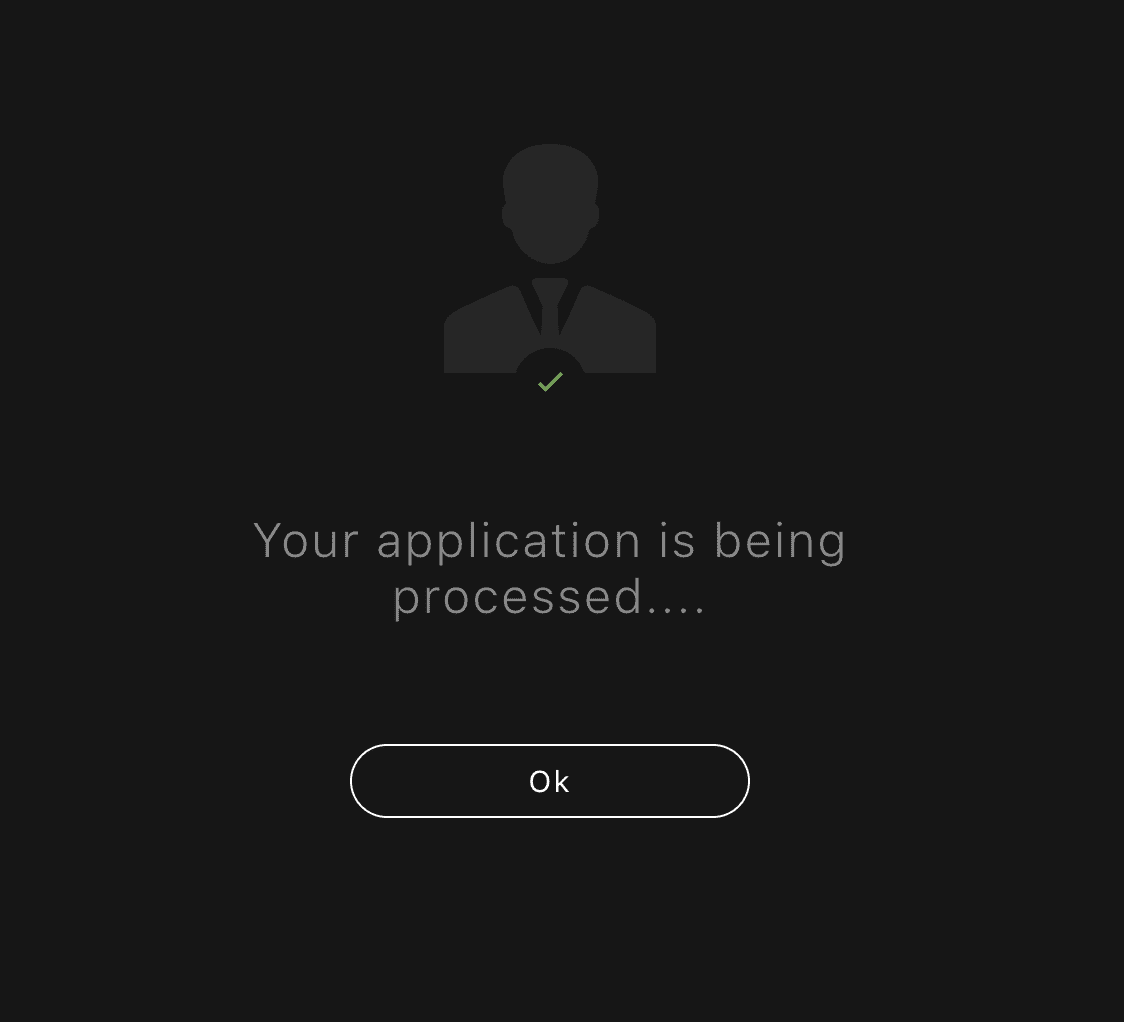
You will see:
“Your application is being processed…”
What this means:
- Your business application has been successfully submitted.
- Compliance review is in progress.
What happens next:
- Review time depends on company structure and jurisdiction.
- You may be contacted by e-mail for clarifications or additional documents.
- Once approved, the business account will appear in your interface.
Important:
- Do not re-submit the application.
- No need to contact support on day one.
- If there is no update after several business days, a polite follow-up is acceptable.
Memo
- Accuracy and document consistency significantly reduce review time.
- Most delays come from incorrect roles, addresses, or missing documents.
Share this article